A realistic project that an indie developer could see through to completion would be a 2D side scroller or an isometric 2D game with 2D sprites. With my current knowledge I think both will require tile mapping, so I loaded up an example project in Unity and got it completed. I don’t know whether 3D game would also benefit from it, maybe it is helpful to texturing objects. Anyway this is my first experience with tile mapping and I acquired some insight into how things fit together.
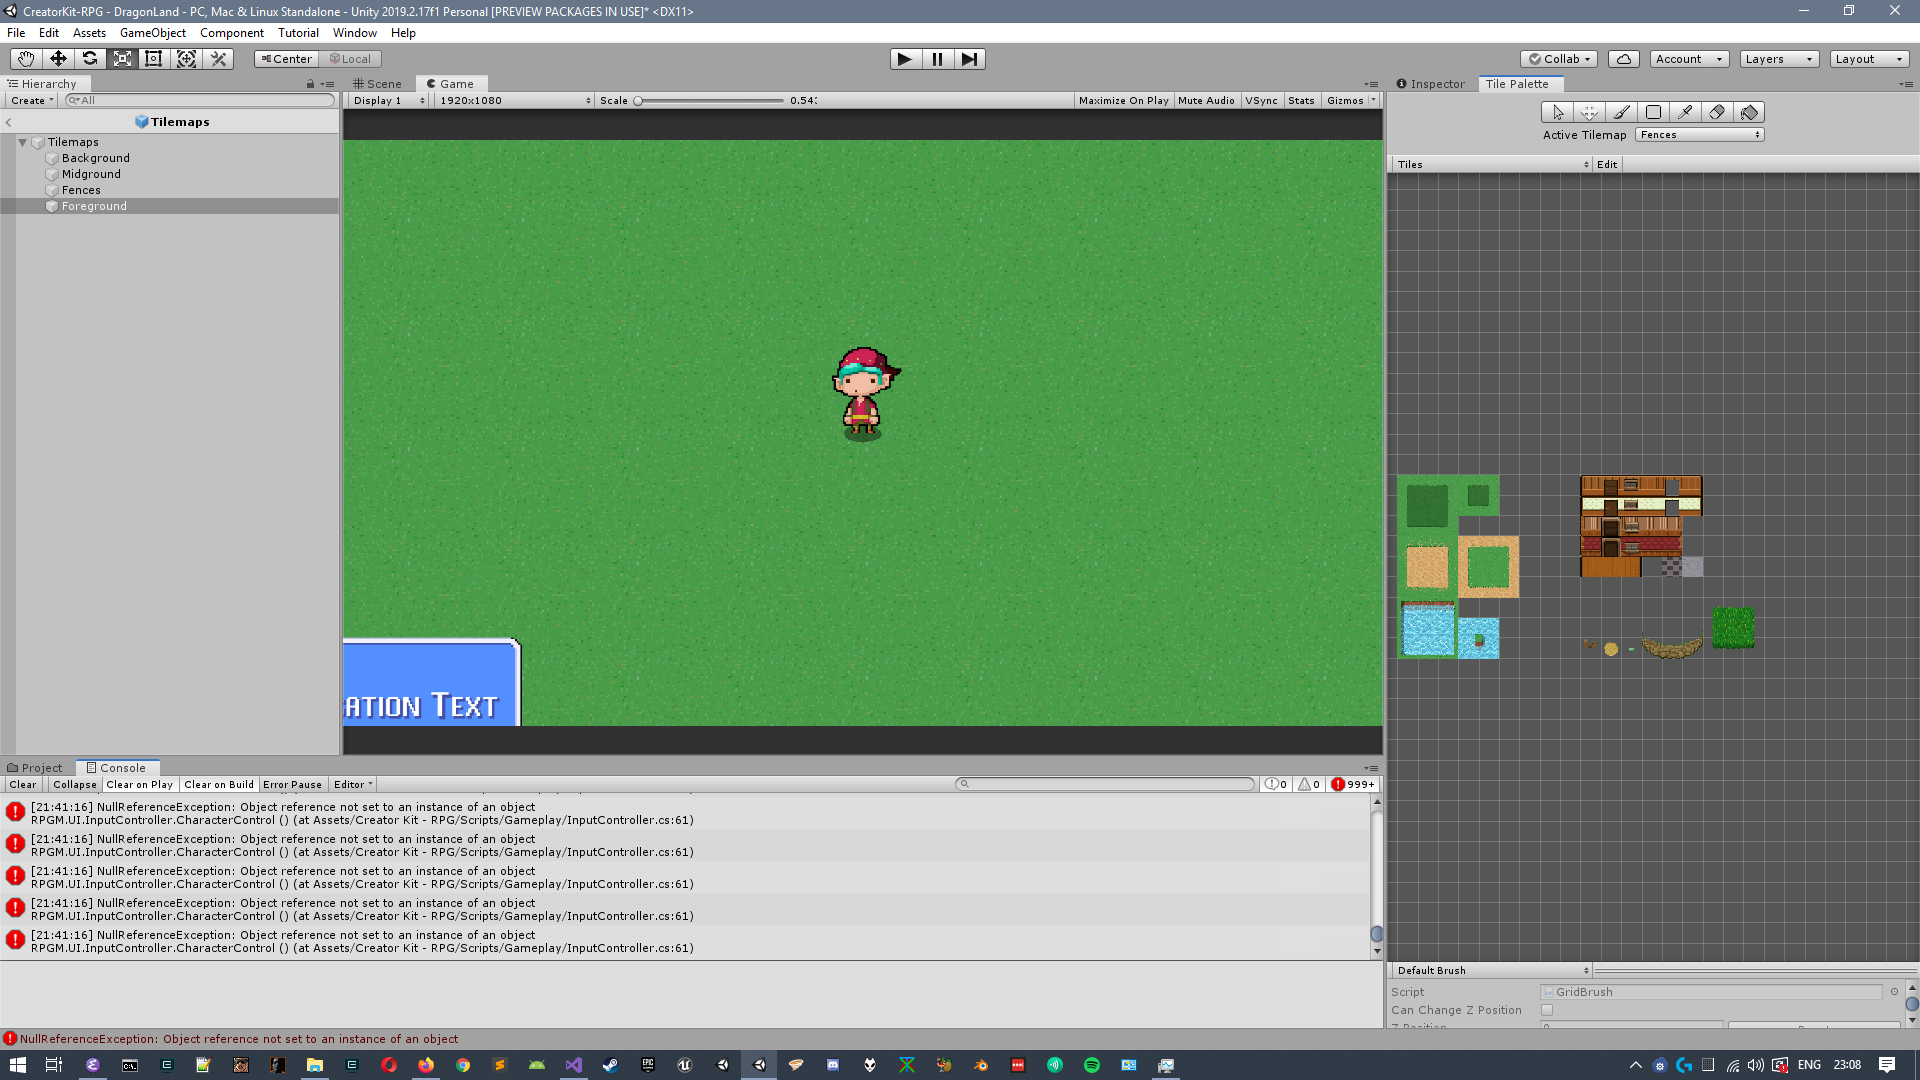
Unity’s official documentation about tile mapping was quite easy to follow so I got it done quickly. The image below shows unity with a 2Dgame project open, the right window shows the tile map. A tile map basically means multiple images joined together as tiles to form one single image.
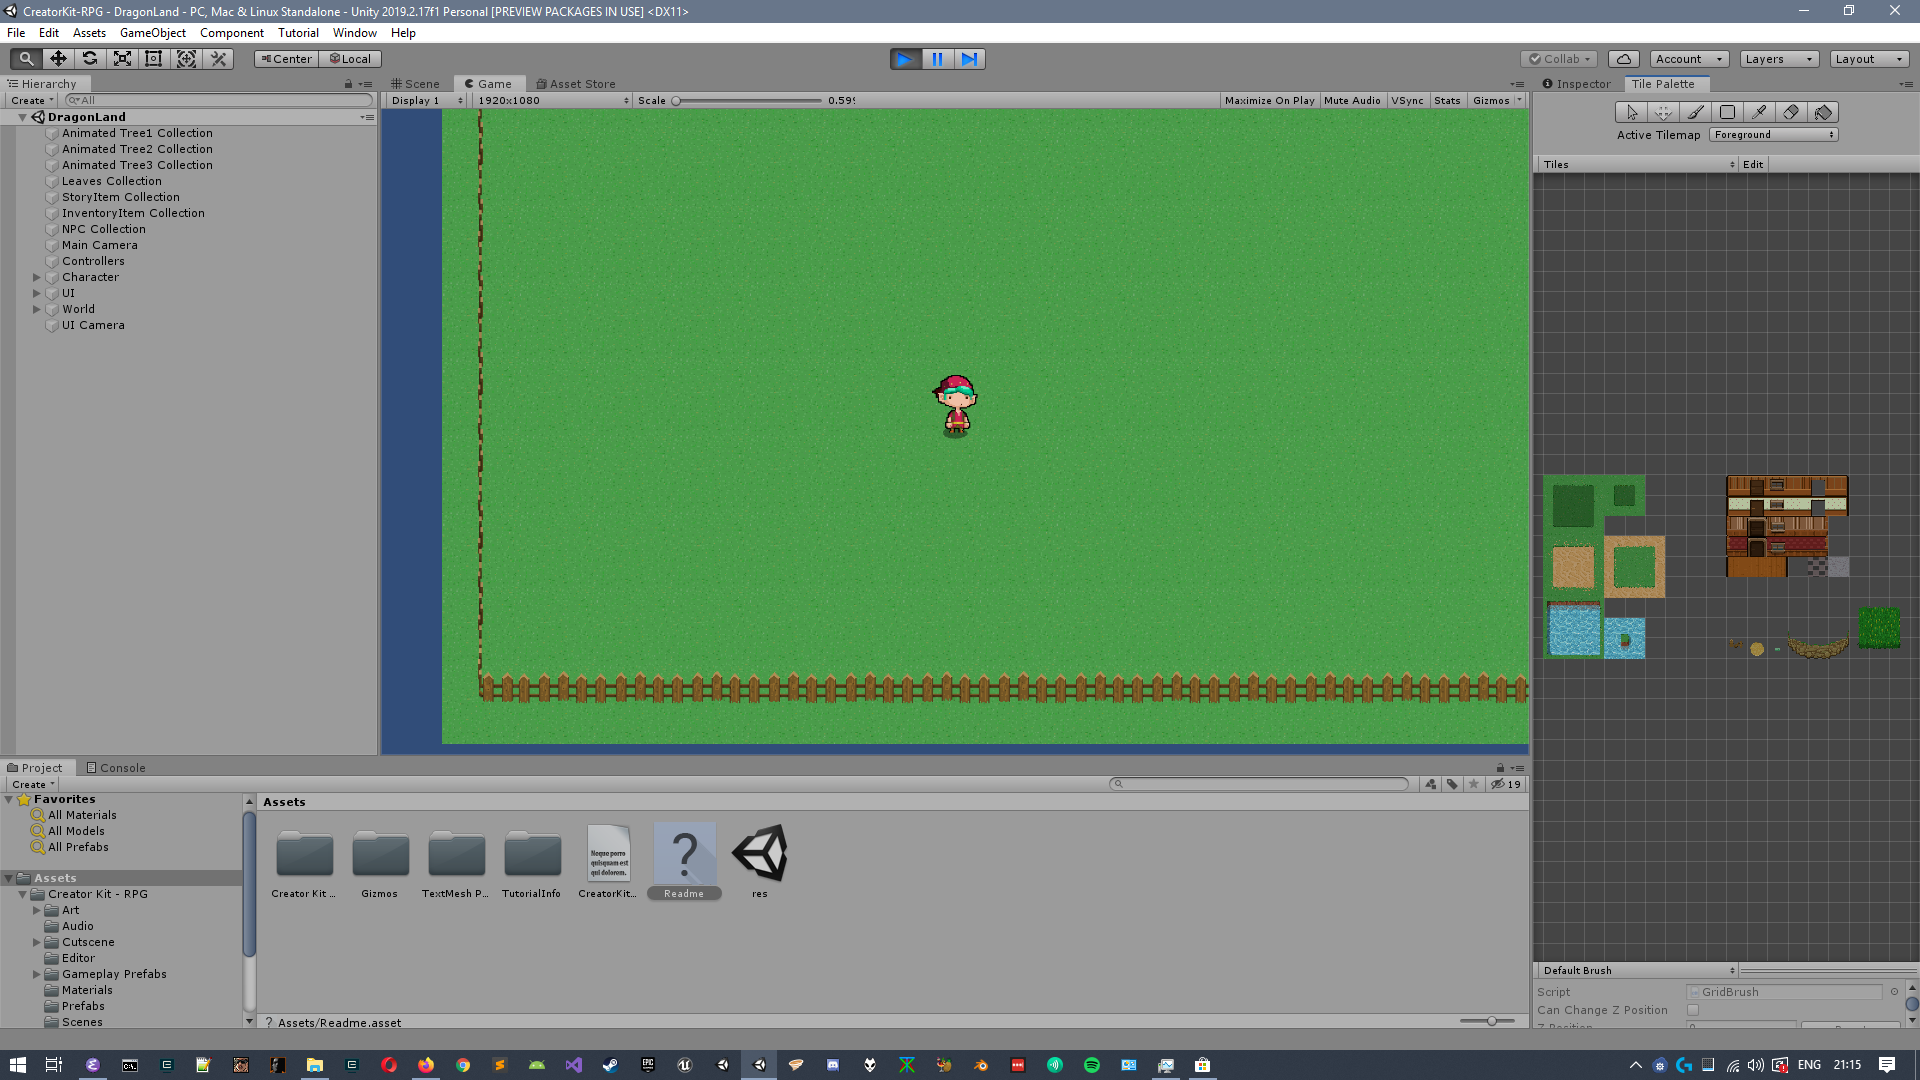
This whole game is made using the tile maps that we see except for the fences, I’m not sure where those fences came from though. Anyway I tried replacing the green grass texture and it worked.
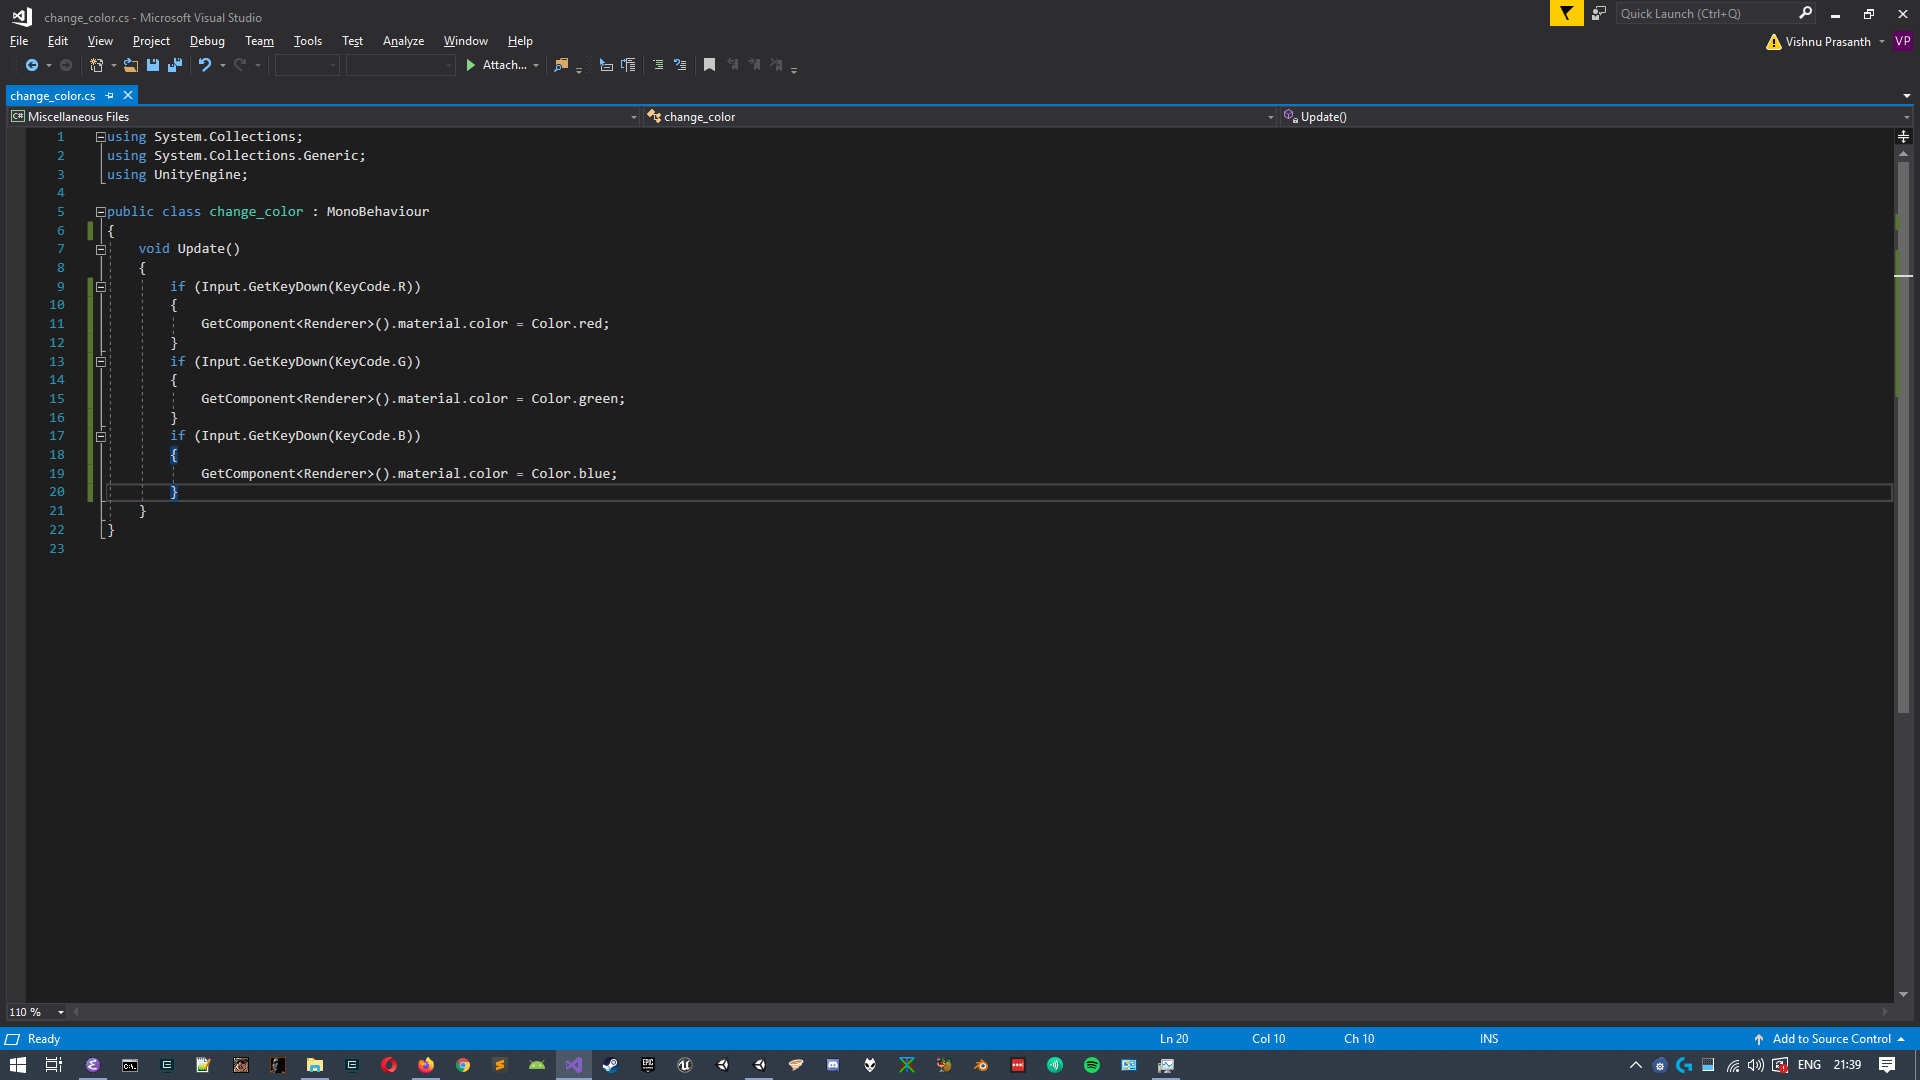
After the tile mapping was done I was a little curious to see scripts run. As I have zero experience in C# I thought of running the most basic script that I can find so as to not lose motivation.
The code I found is shown below in Visual Studio editor, When I created a C# script inside the editor and executed it openend up in Visual Studio, becasue I have setup Visual Studio to work with UE4.
Once the script is created Unity makes it so easy to hook it into a game object. It is done in 2 ways, either drag and drop to the target object foudn in the hierarchy window or open the properties of that object and attach the script.
After attaching the script to the MC this is what happened when I ran the game…
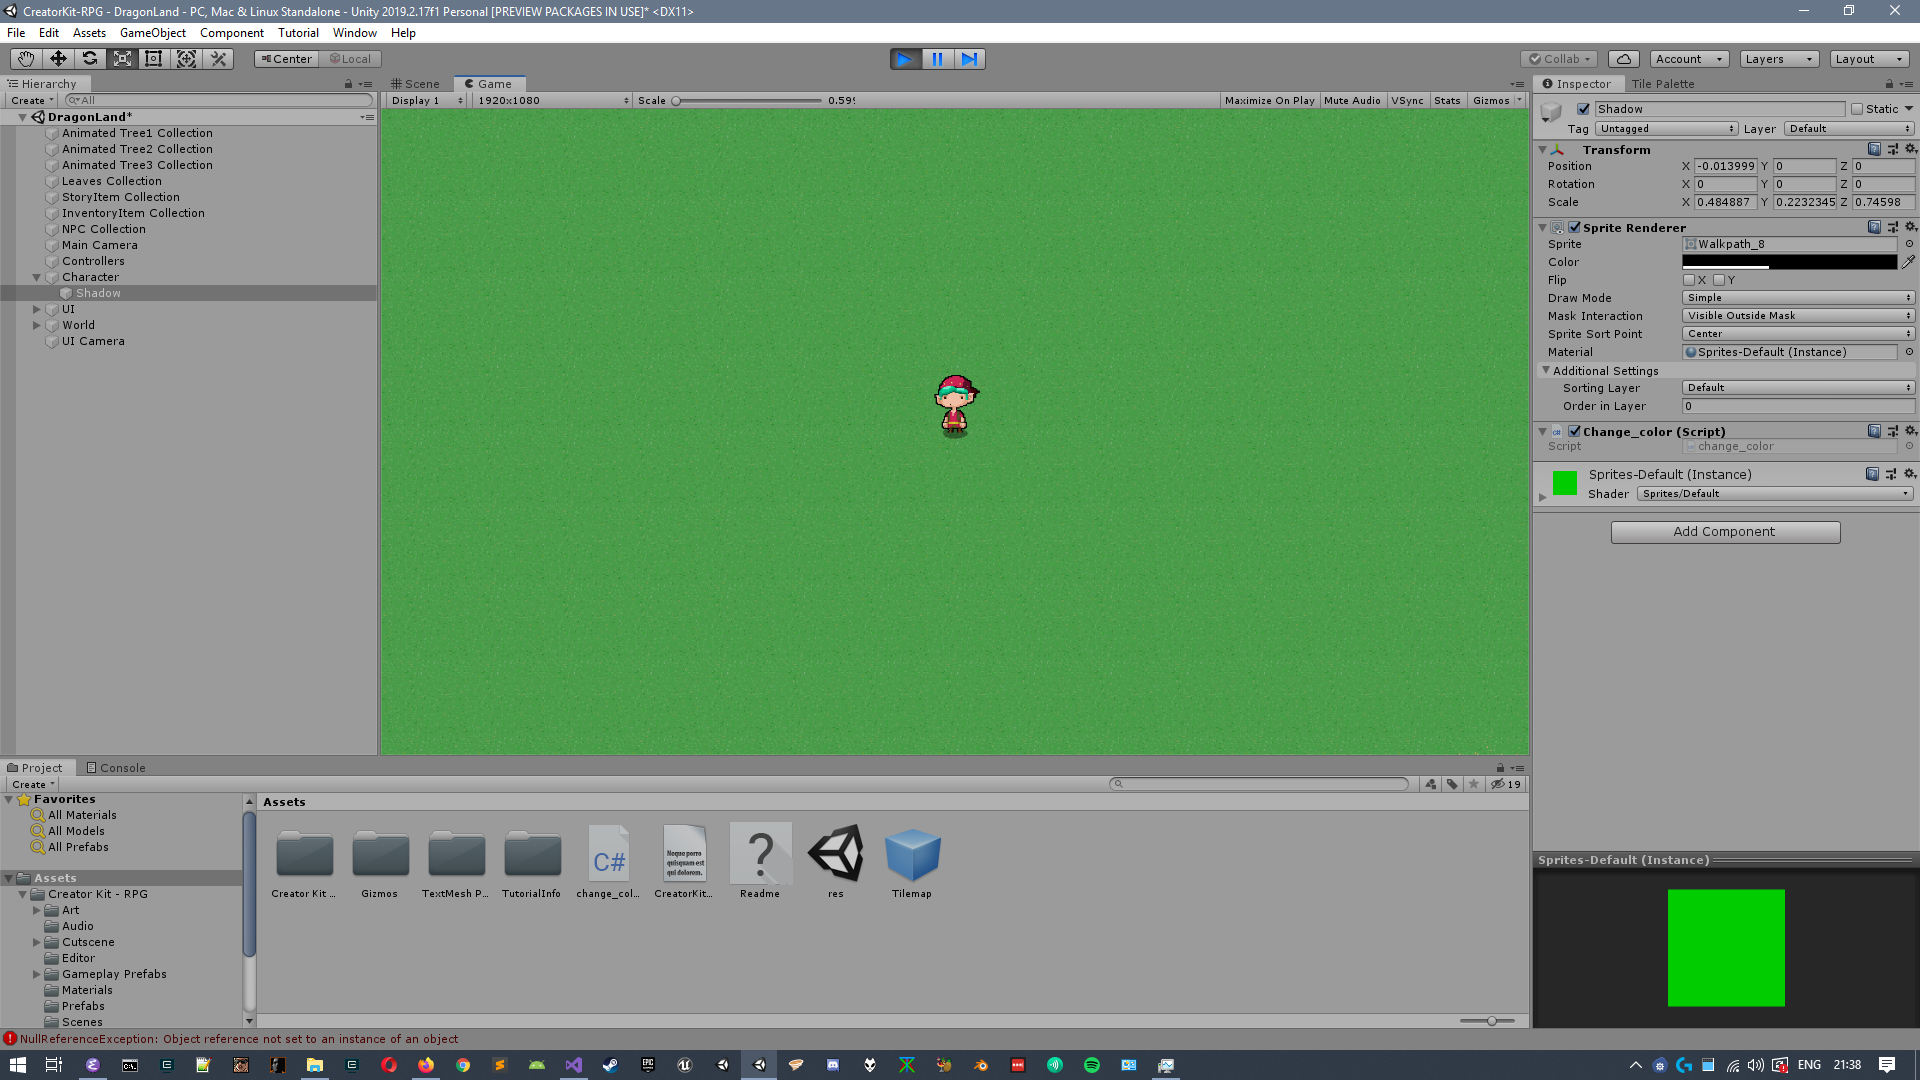
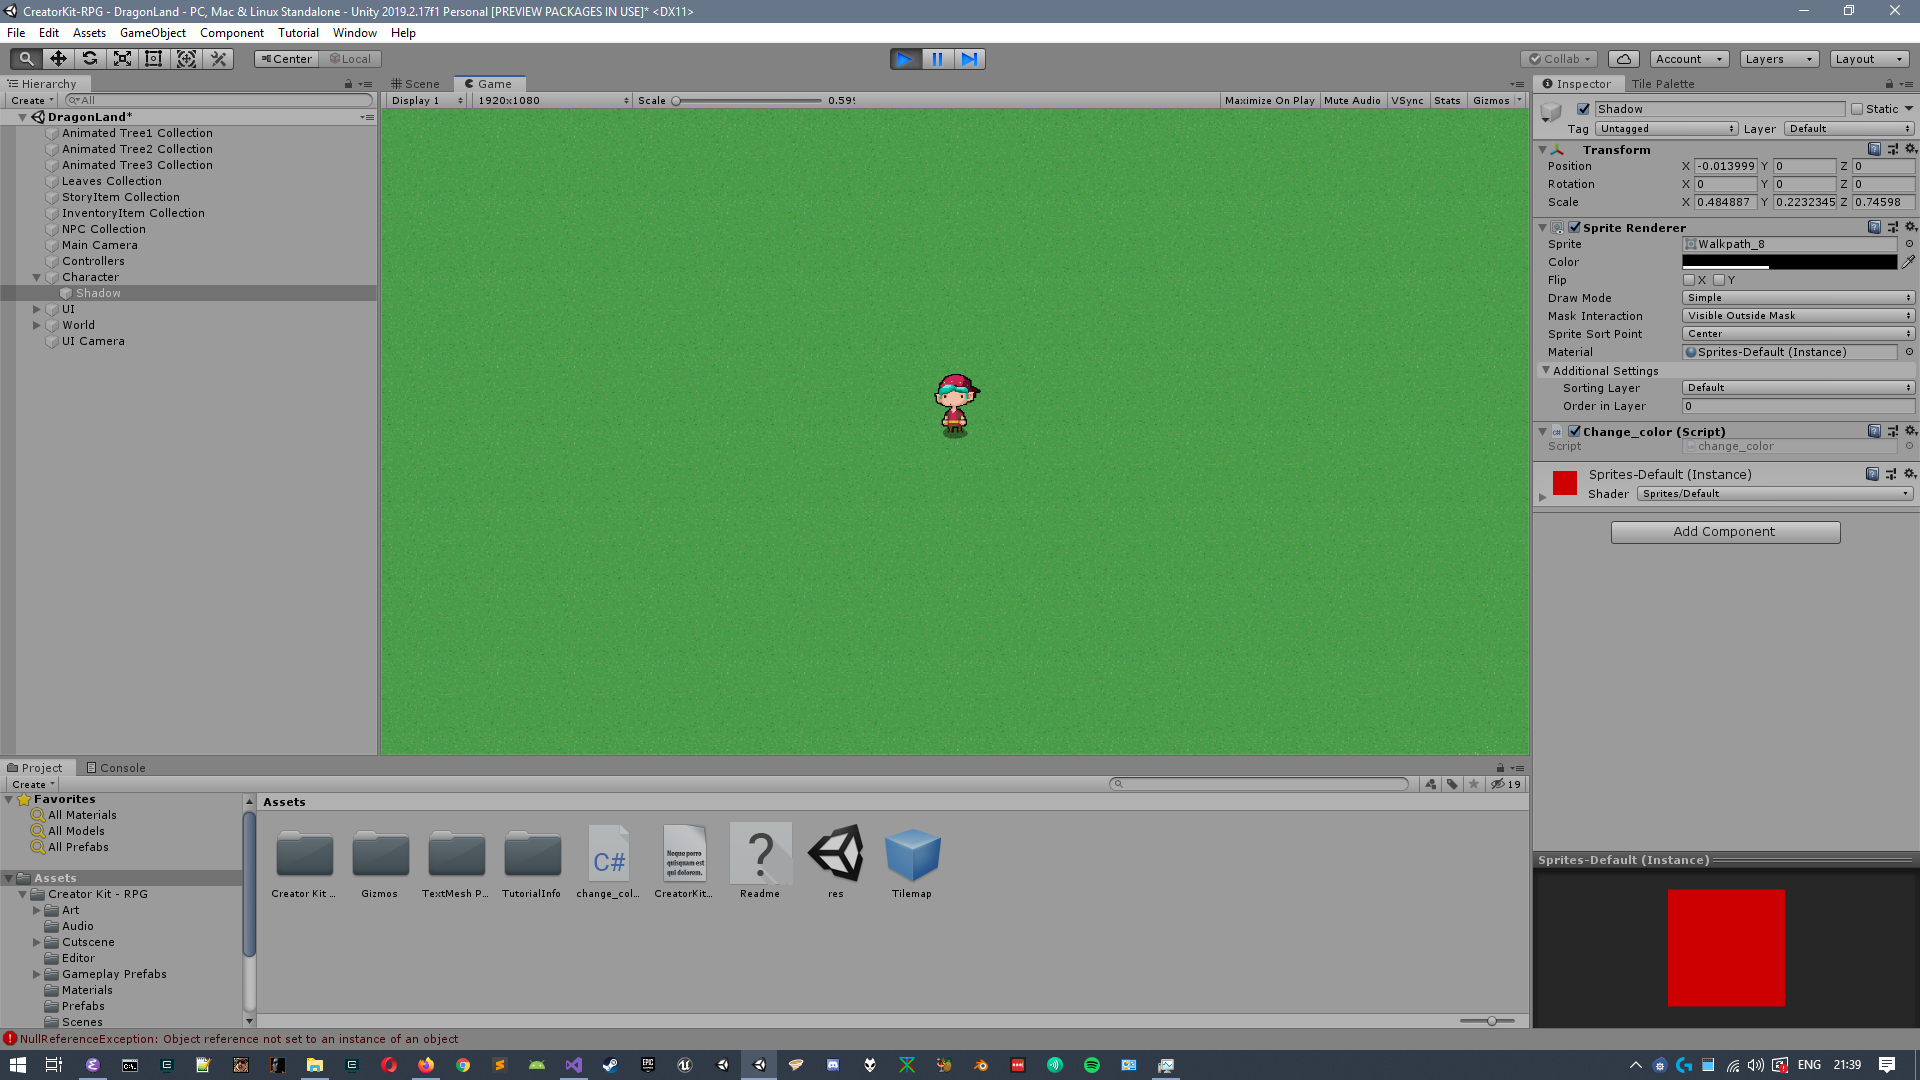
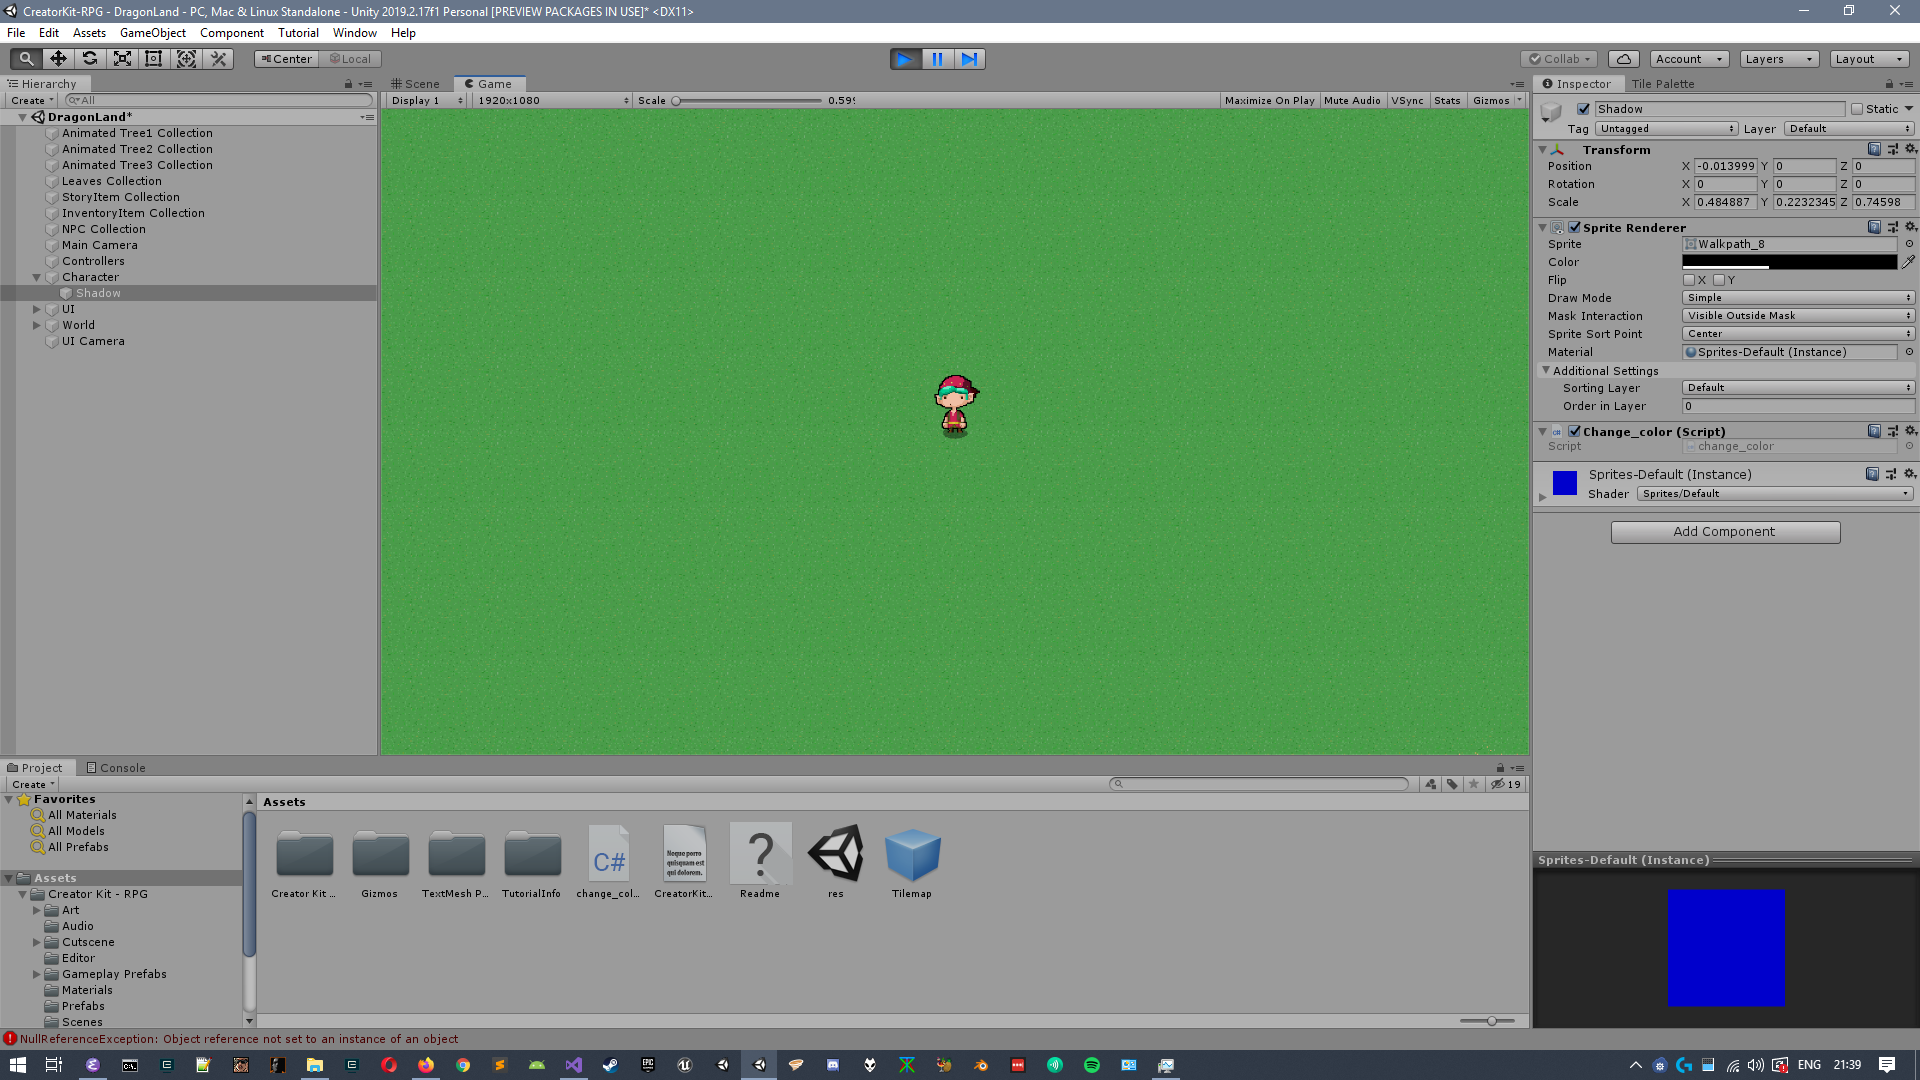
Even though the color of the sprite was changing, it was not visible in the game screen. Unity’s console was showing a NullReferenceException all this time, guess 2D sprites are not effected by this change.
Hopefully I’ll understand all this in the near future.
Cheers